
ZKTeco
SenseFace 2A — Setup Guide
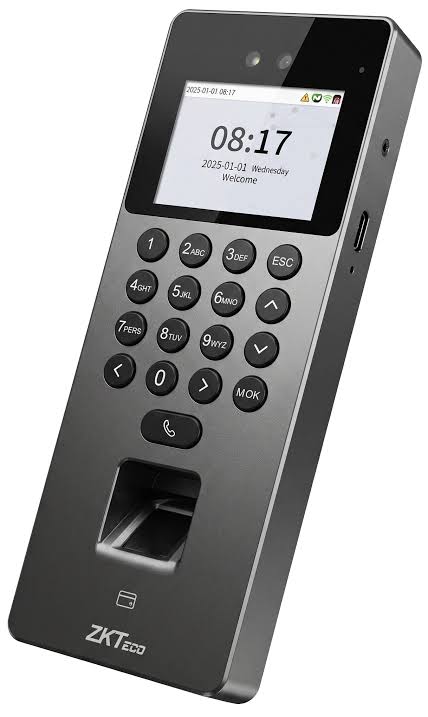
ZKTeco SenseFace 2A
2.4" IPS Screen · Indoor (IP20)
ADMS / iClock Push Protocol
฿3,900 THB
Prerequisites
- Active WLTT SaaS account with Company Admin access
- Device mounted and powered on
- Wi-Fi or Ethernet network with internet access
- Device serial number (on the label at the back)
Step 1: Add Device in WLTT Dashboard
- 1Log in to saas.wltt.asia → Devices → Add Device
- 2Select brand
- 3Enter device name and serial number
- 4Select the department this device belongs to
- 5Click Save — the system will generate a Webhook URL
- 6Copy the Webhook URL — you will need it in the next step
Select brand: ZKTeco
Step 2: Configure the Device
- 1On the device (or via web interface), go to COMM → Cloud Server Setting (ADMS)
- 2Enable Cloud Server: ON
- 3Set Server Address to the Webhook URL from Step 1
- 4Set Port to 443
- 5Set Protocol to HTTPS
- 6Enable Push mode
- 7Save settings and reboot the device
Step 3: Verify Connection
- 1In the dashboard go to Devices
- 2Find your device — status should become Online
- 3Do a test face scan on the device
- 4Go to Attendance — the record should appear
Important Notes
- Employee ID in WLTT must match the User ID (PIN) programmed on the device
- The device pushes events to the cloud server — no port forwarding is required, only internet access
- Always reboot the device after changing cloud server settings
Troubleshooting
Device shows Offline
Check internet connection. Verify the Webhook URL is entered correctly. Reboot the device.
No attendance record appears
Ensure the employee's Employee ID in WLTT matches the User ID (PIN) on the device.
Connection refused
Make sure port 443 is not blocked by your network firewall. Use HTTPS protocol.